最近透過Parse的服務來製作後台
剛好有做到推播的功能,順手筆記一下摟!
=====
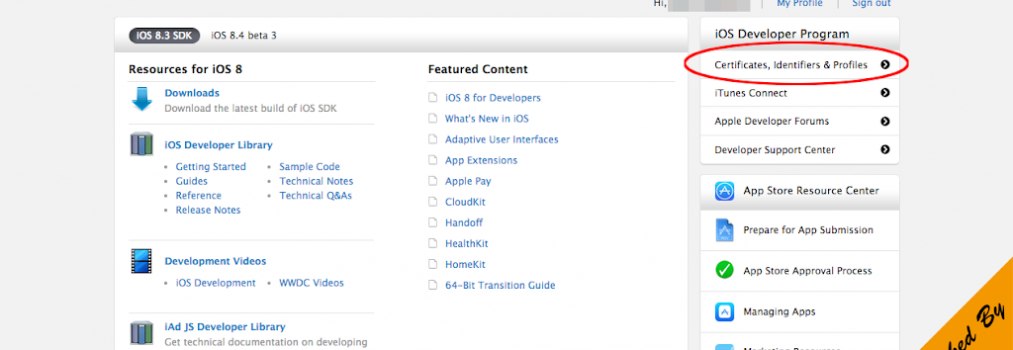
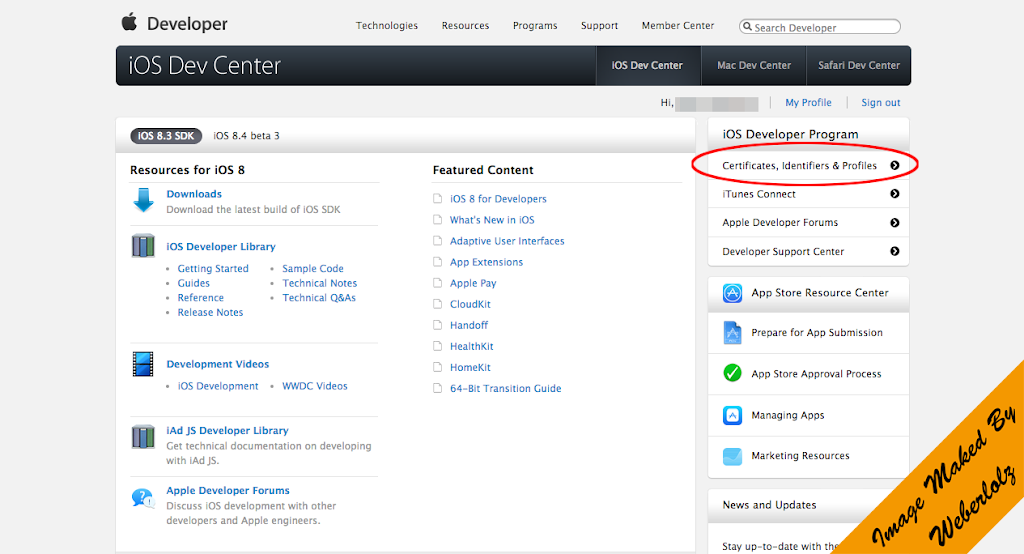
首先到 iOS Dev Center (https://developer.apple.com/devcenter/ios/index.action)
選擇 Certificates, Identifiers & Profiles
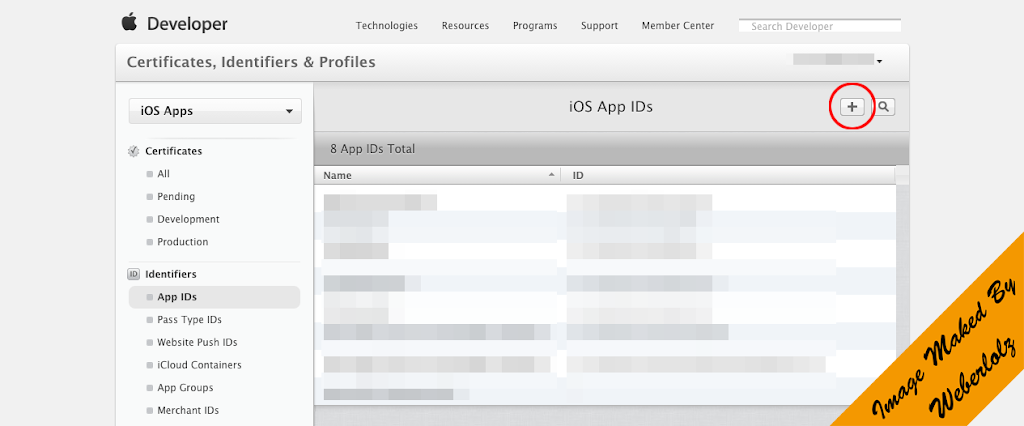
 之後,點選 Identifiers

這時候會顯示你帳號底下所擁有的App IDs
由於推播功能是與Bundle ID(App ID)綁定在一起的,
所以就按下右邊的加號來註冊一個App ID吧!(如果你的App已經註冊過了,這段可以先跳過)
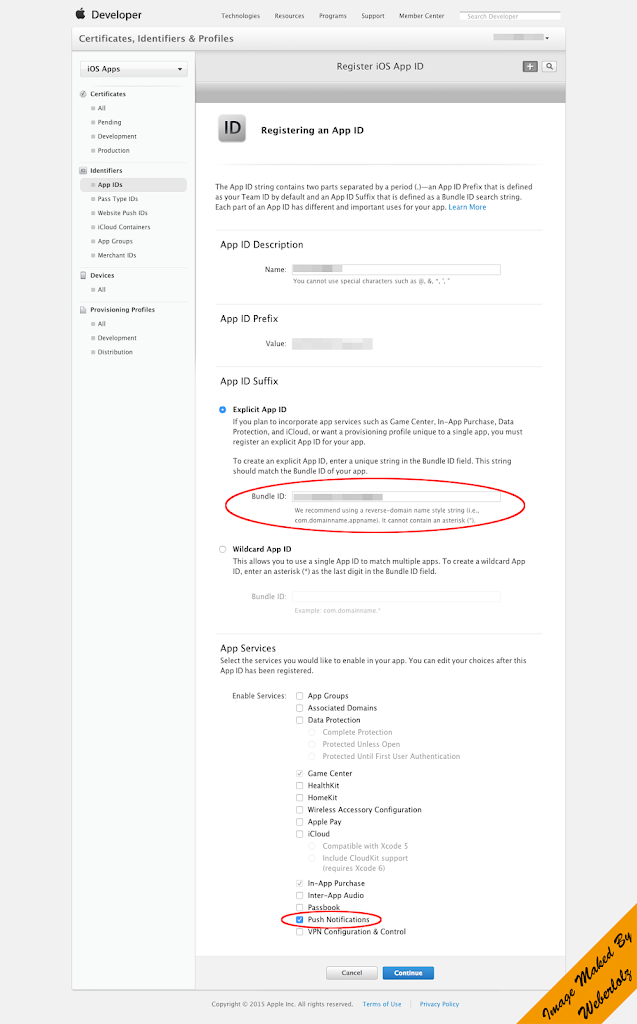
這邊需要注意的欄位是 App ID Suffix 的部分
選擇 Explicit App ID,給定一個唯一的Bundle ID
而下面App Services的部分
記得勾選 “Push Notifications”
填寫完成後就按 Continue 繼續下一步摟!
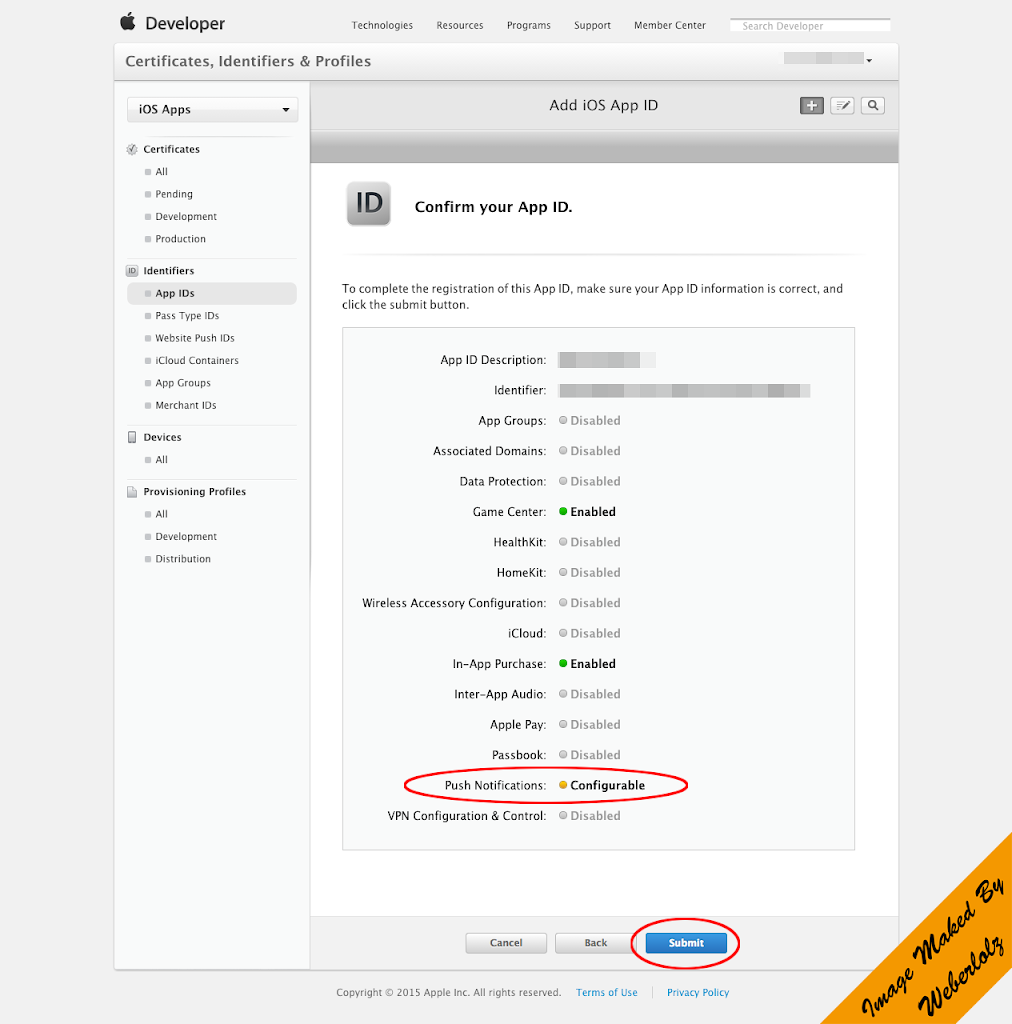
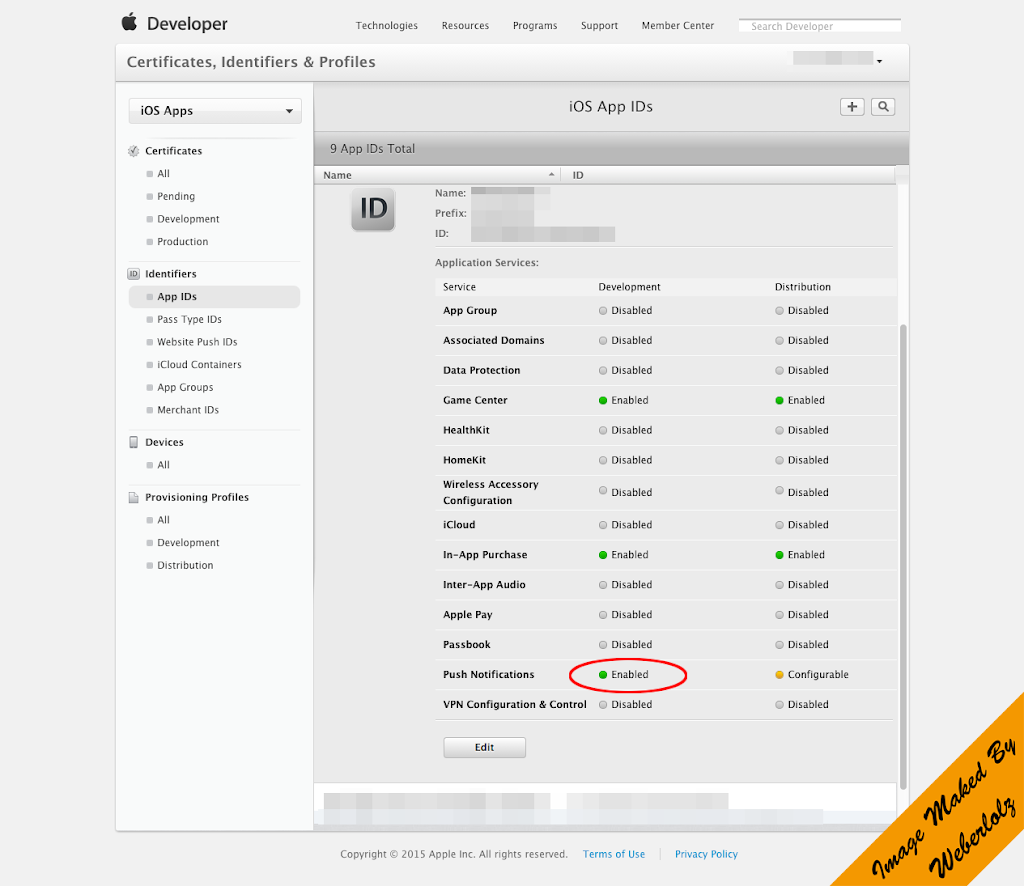
這時候會出現確認頁面
但是會發現,Push Notifications這邊顯示的是 “Configurable”
這是因為要啟用推播還有一些設定要做喔!(取得憑證)
確認其他部分沒問題之後就按下Submit送出吧!
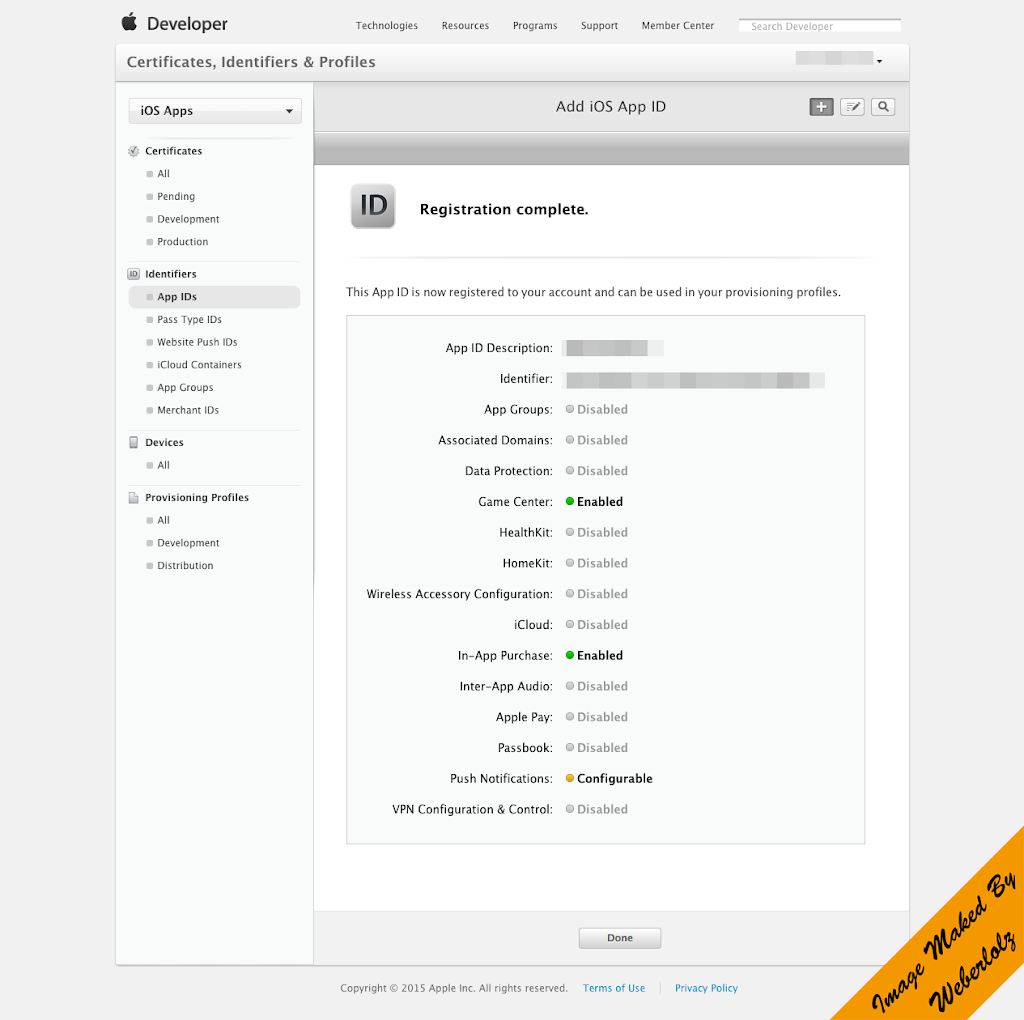
沒有問題的話就會顯示完成畫面摟~
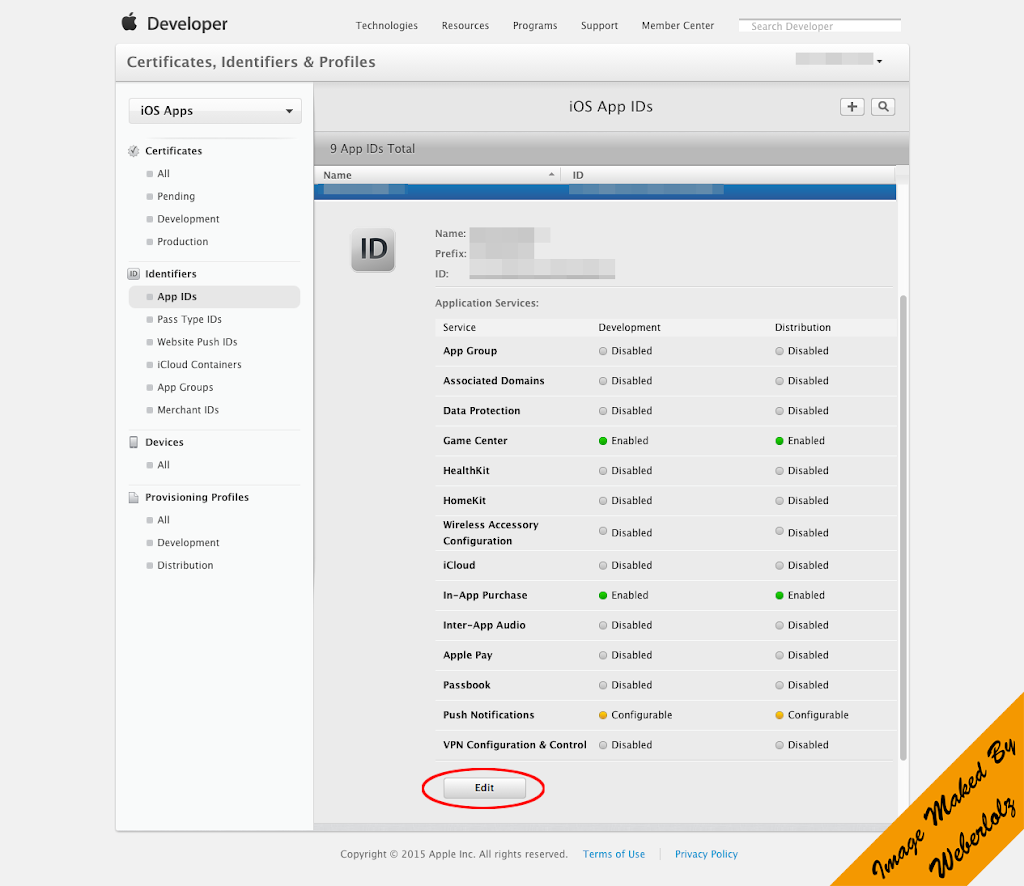
接著,我們回到 App IDs,然後點選一下剛剛註冊好的App ID
選擇下面的Edit來繼續完成推播憑證的設定吧!
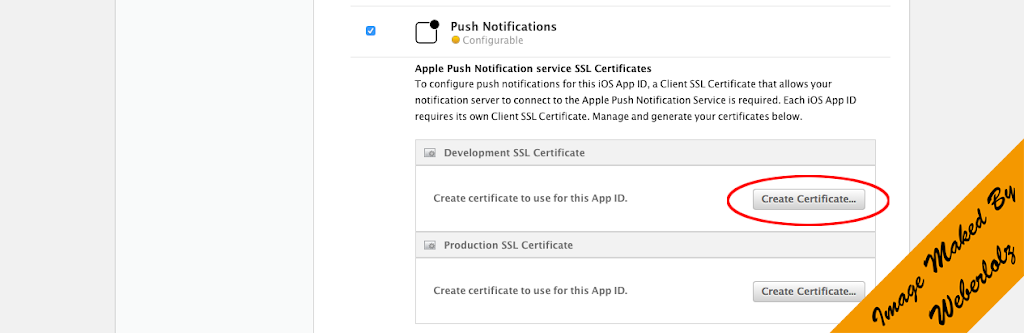
進去後,往下捲到 Push Notifications
會看到分成兩塊,上面是Development、下面是Production
這是因為Apple在開發環境中和正式上架後走的推播伺服器是不同台
(參閱官方文件:傳送門)
因此會需要兩個不一樣的憑證來完成
兩個的動作都是相同的
這邊就以申請Development的部分來做說明
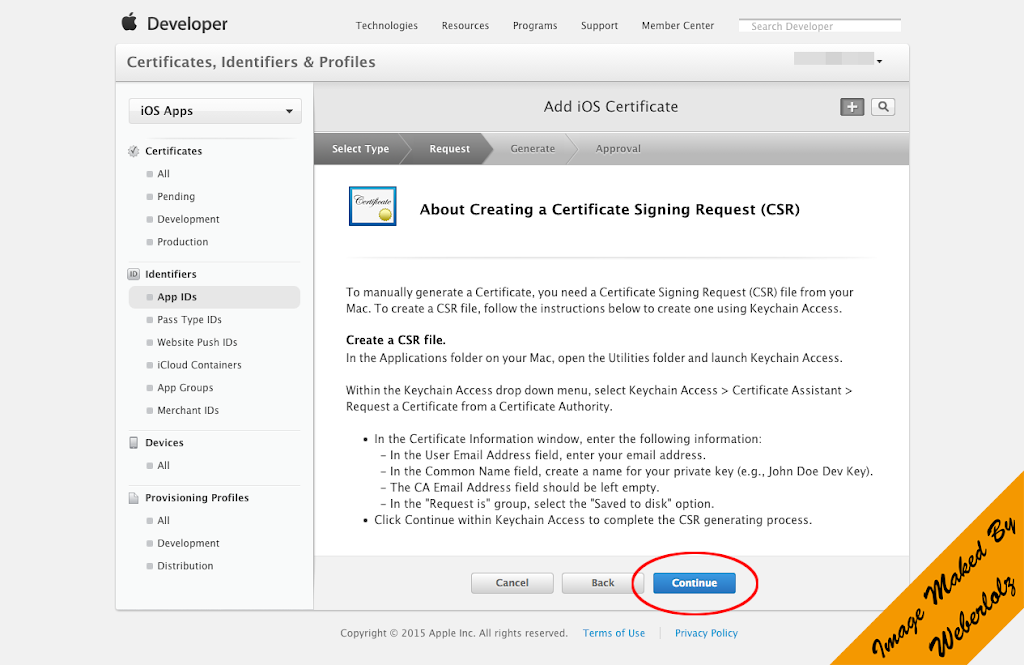
按下 Create Certificate… 繼續吧!
點 Continue 繼續
這邊會要求你上傳一份由電腦產生出的要求憑證
有點類似雙掛號的概念
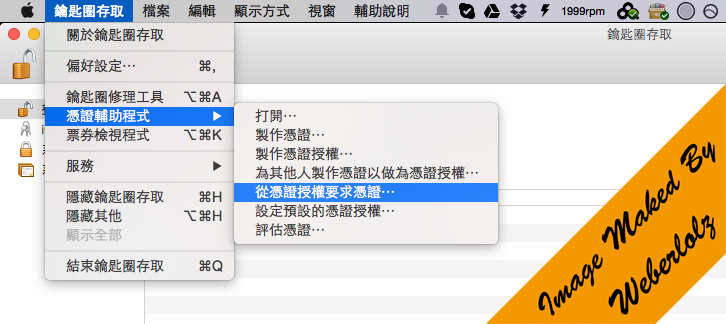
就到Mac中的 “鑰匙圈存取” 來製作吧!
點選畫面左上方的”鑰匙圈存取” -> “憑證輔助程式” -> “從憑證授權要求憑證…”
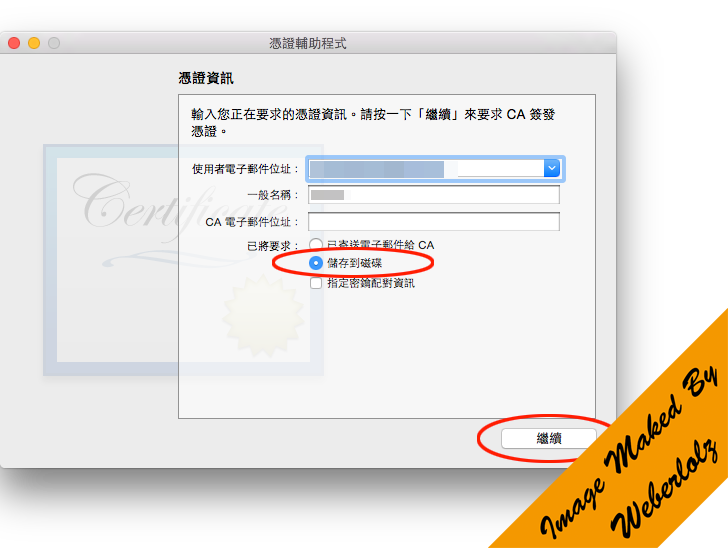
把 “已將要求:” 選項,選擇 “儲存到磁碟”
上面的名稱與電子郵件就可以不用填 (這部分是作為遠端要求使用)
之後按下”繼續”
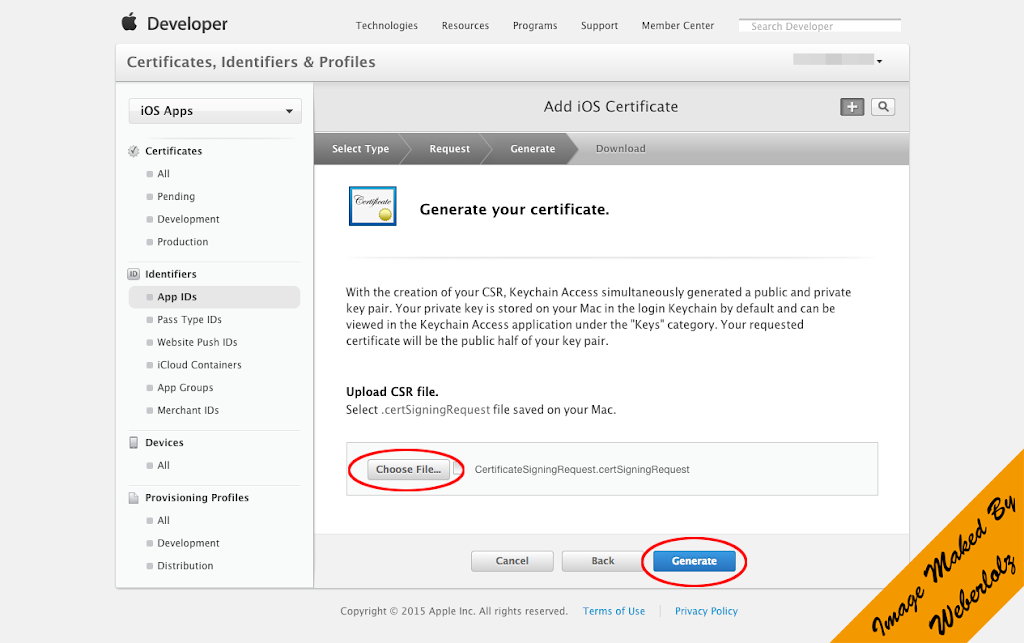
將檔案儲存之後,回到網頁上傳該檔案
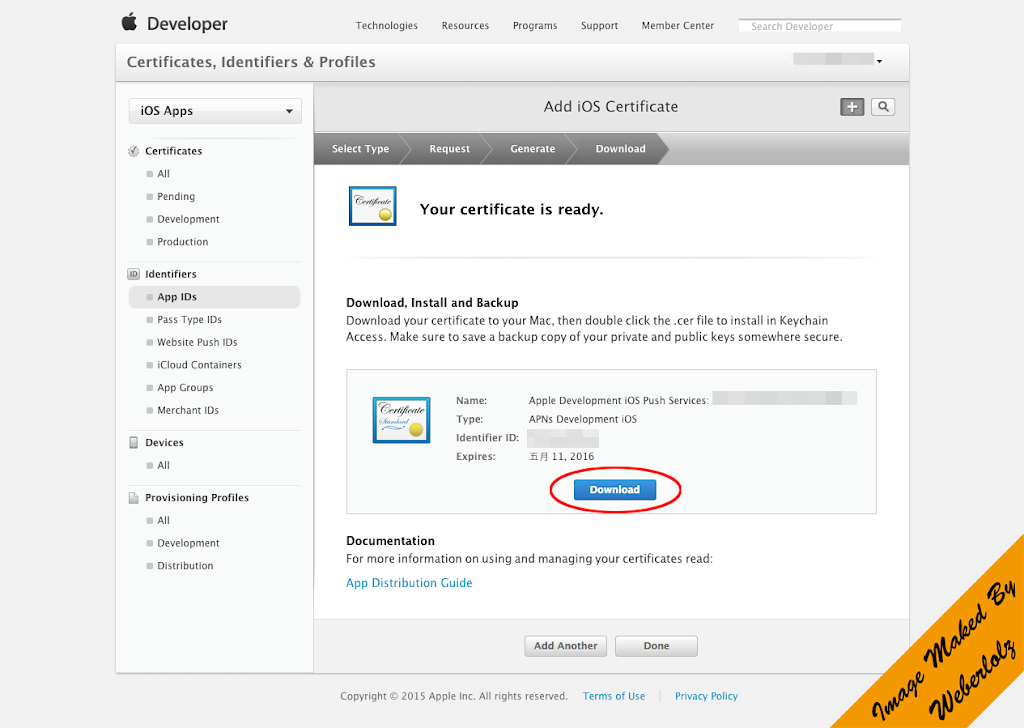
再按下 “Generate” 產生憑證
把產生出來的憑證下載並匯入到鑰匙圈中(雙擊該檔案)
同時我們也會發現到憑證製作完成後,原本的Configurable就會變成Enable
=====
這樣就完成Push Notifications的憑證申請了
如何和Parse以及專案結合就等下篇繼續摟!